


I started with Home Assistant over RPi more or less 3 years ago. The reason was simple: I needed to add protocols for what I was using at home and in the Smart Home Box universe you should choose between a few protocols or an incredible price (and maybe anyway not all the protocols you want to use). At the beginning, my Hass was controlling only a couple of ZWave devices and now, after we move into a new house 8 months ago, everything is under the HomeAssistant control. This means no more external custom doomed boxes.
Why I spent time centralizing?
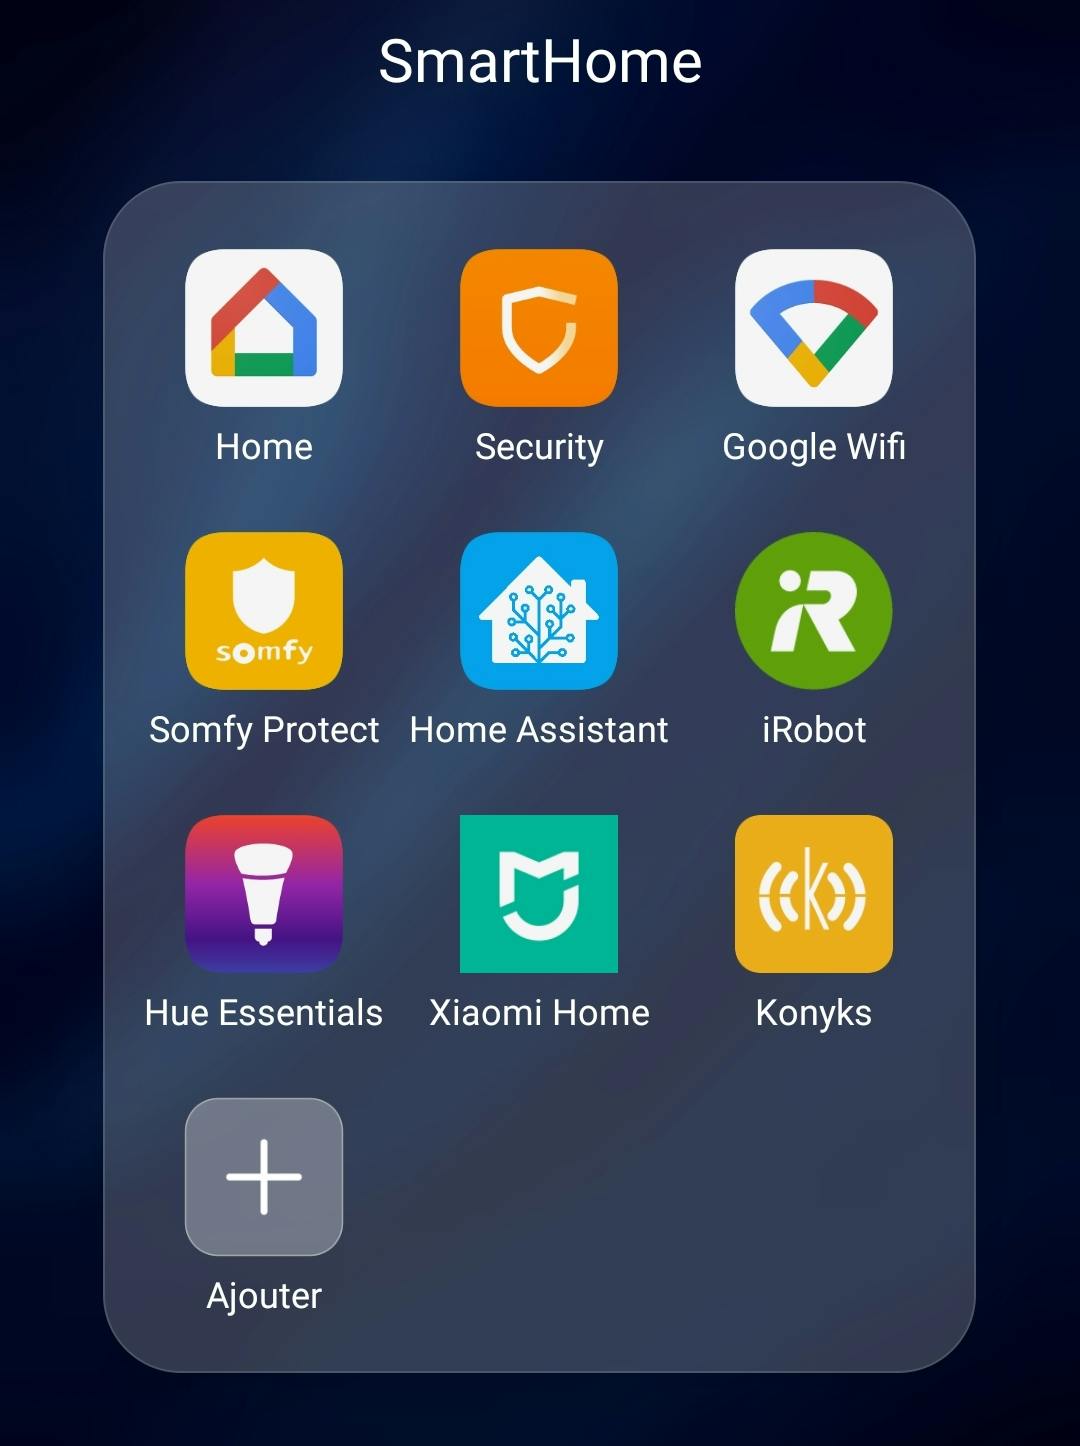
The first reason: when you start adding smart devices you will have after a while a great number of custom applications to control each of them. Philips Hue, iRobot, Somfy, Netatmo, Xiaomi, Konyks, ... that's crazy.
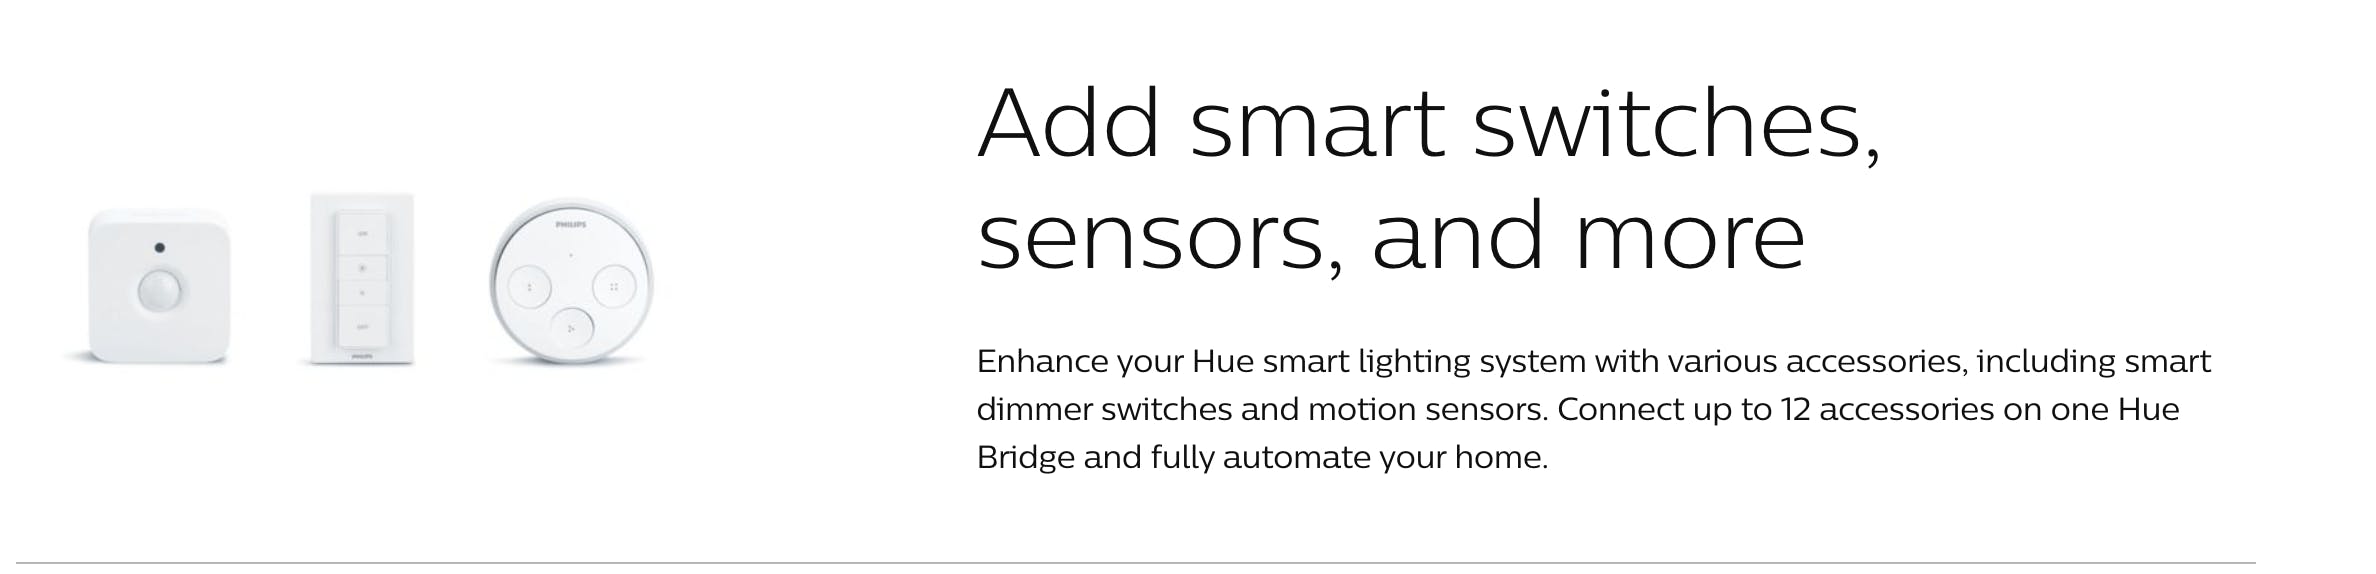
There is a second one: when we moved into the new house I started adding a lot of lights and accessories on the philips hue bridge. Quickly I had problems on some accessories disconnected or with an incredible lag answering to a command. On the Hue website there is information I didn't see before: you can add up to 12 devices to the Hue Bridge. 12 devices are really nothing! You have switches (!), movement captors, temperature captors, dry captors, ... and only with switches I had more than 12 🤬
So I moved my Philips Hue installation to Hass via the ConBeeII key... that's rock!
So why more improvements?
There is a bad thing in the "standard" RPi installation: the SD Card. It is not a device to use when you have a lot of writes... and Hass is writing a lot on the disk for logging, database information, ... And when the lifecycle of the SD Card is ended it simply breakup and you will lose your SmartHome box. And another fact is about performances: SD Card compared to a standard SSD is very slow in IO. I didn't take time for a test on my configuration, but there are tons of posts on the net showing this. Just proposing one.
The Geek Kit
Looking on the net, it seems that when you want to pimp up your RPi there is a leader on that: Geekworm. You have lot of devices on their website to add the UPS "function", connect a disk, a bigger box, ... The only "bad thing" is that you don't have any documentation with devices, but in the end, who cares when you have internet? 😁
I chose my kit in a couple of days especially checking a very important thing: the availability 😜 And I went for the X857-C3
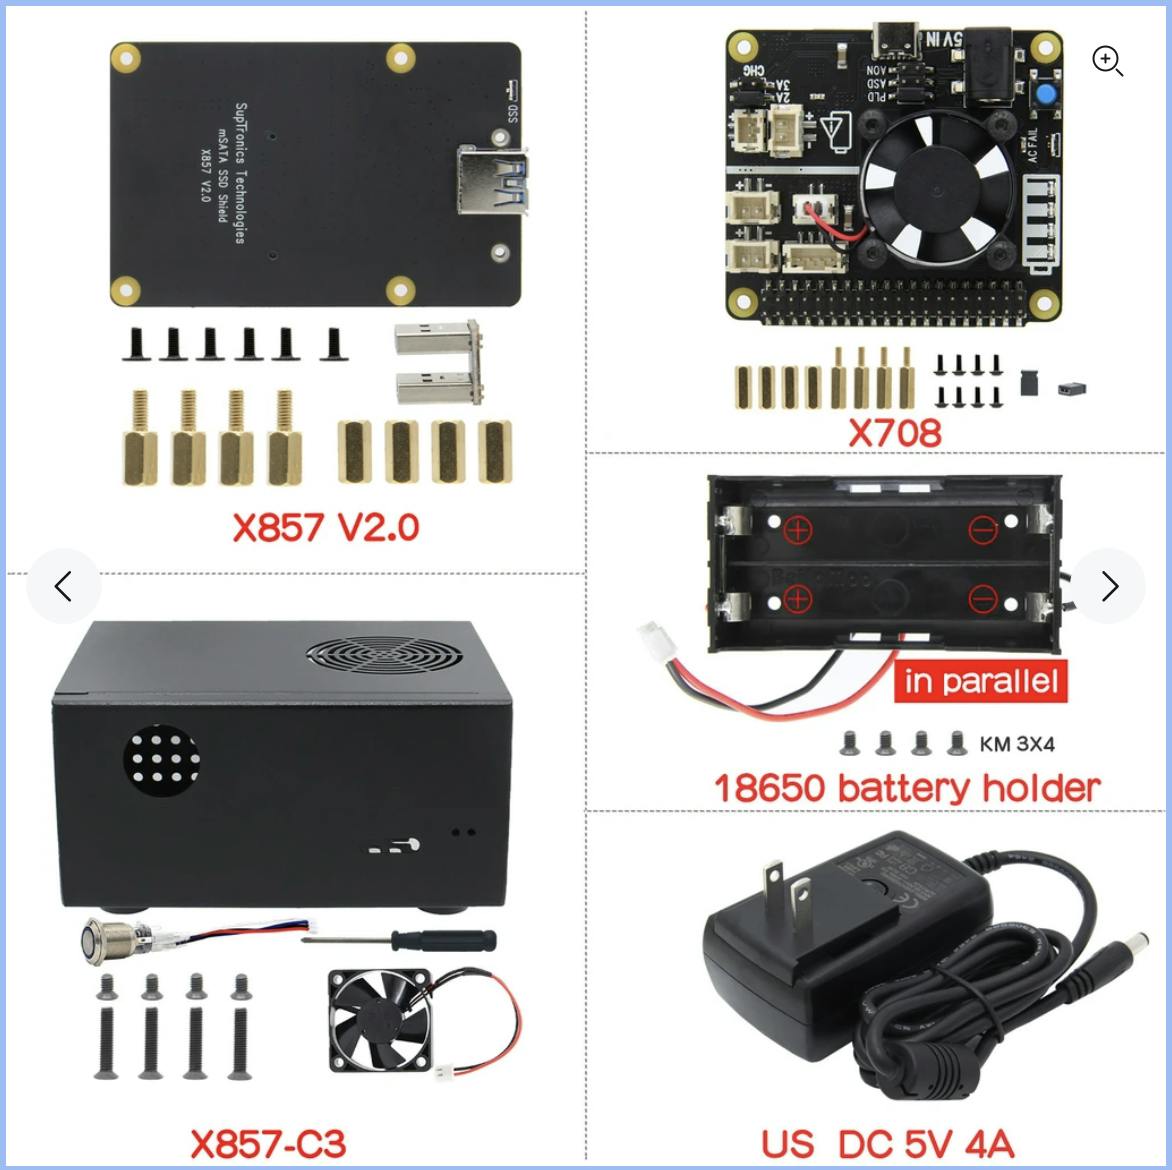
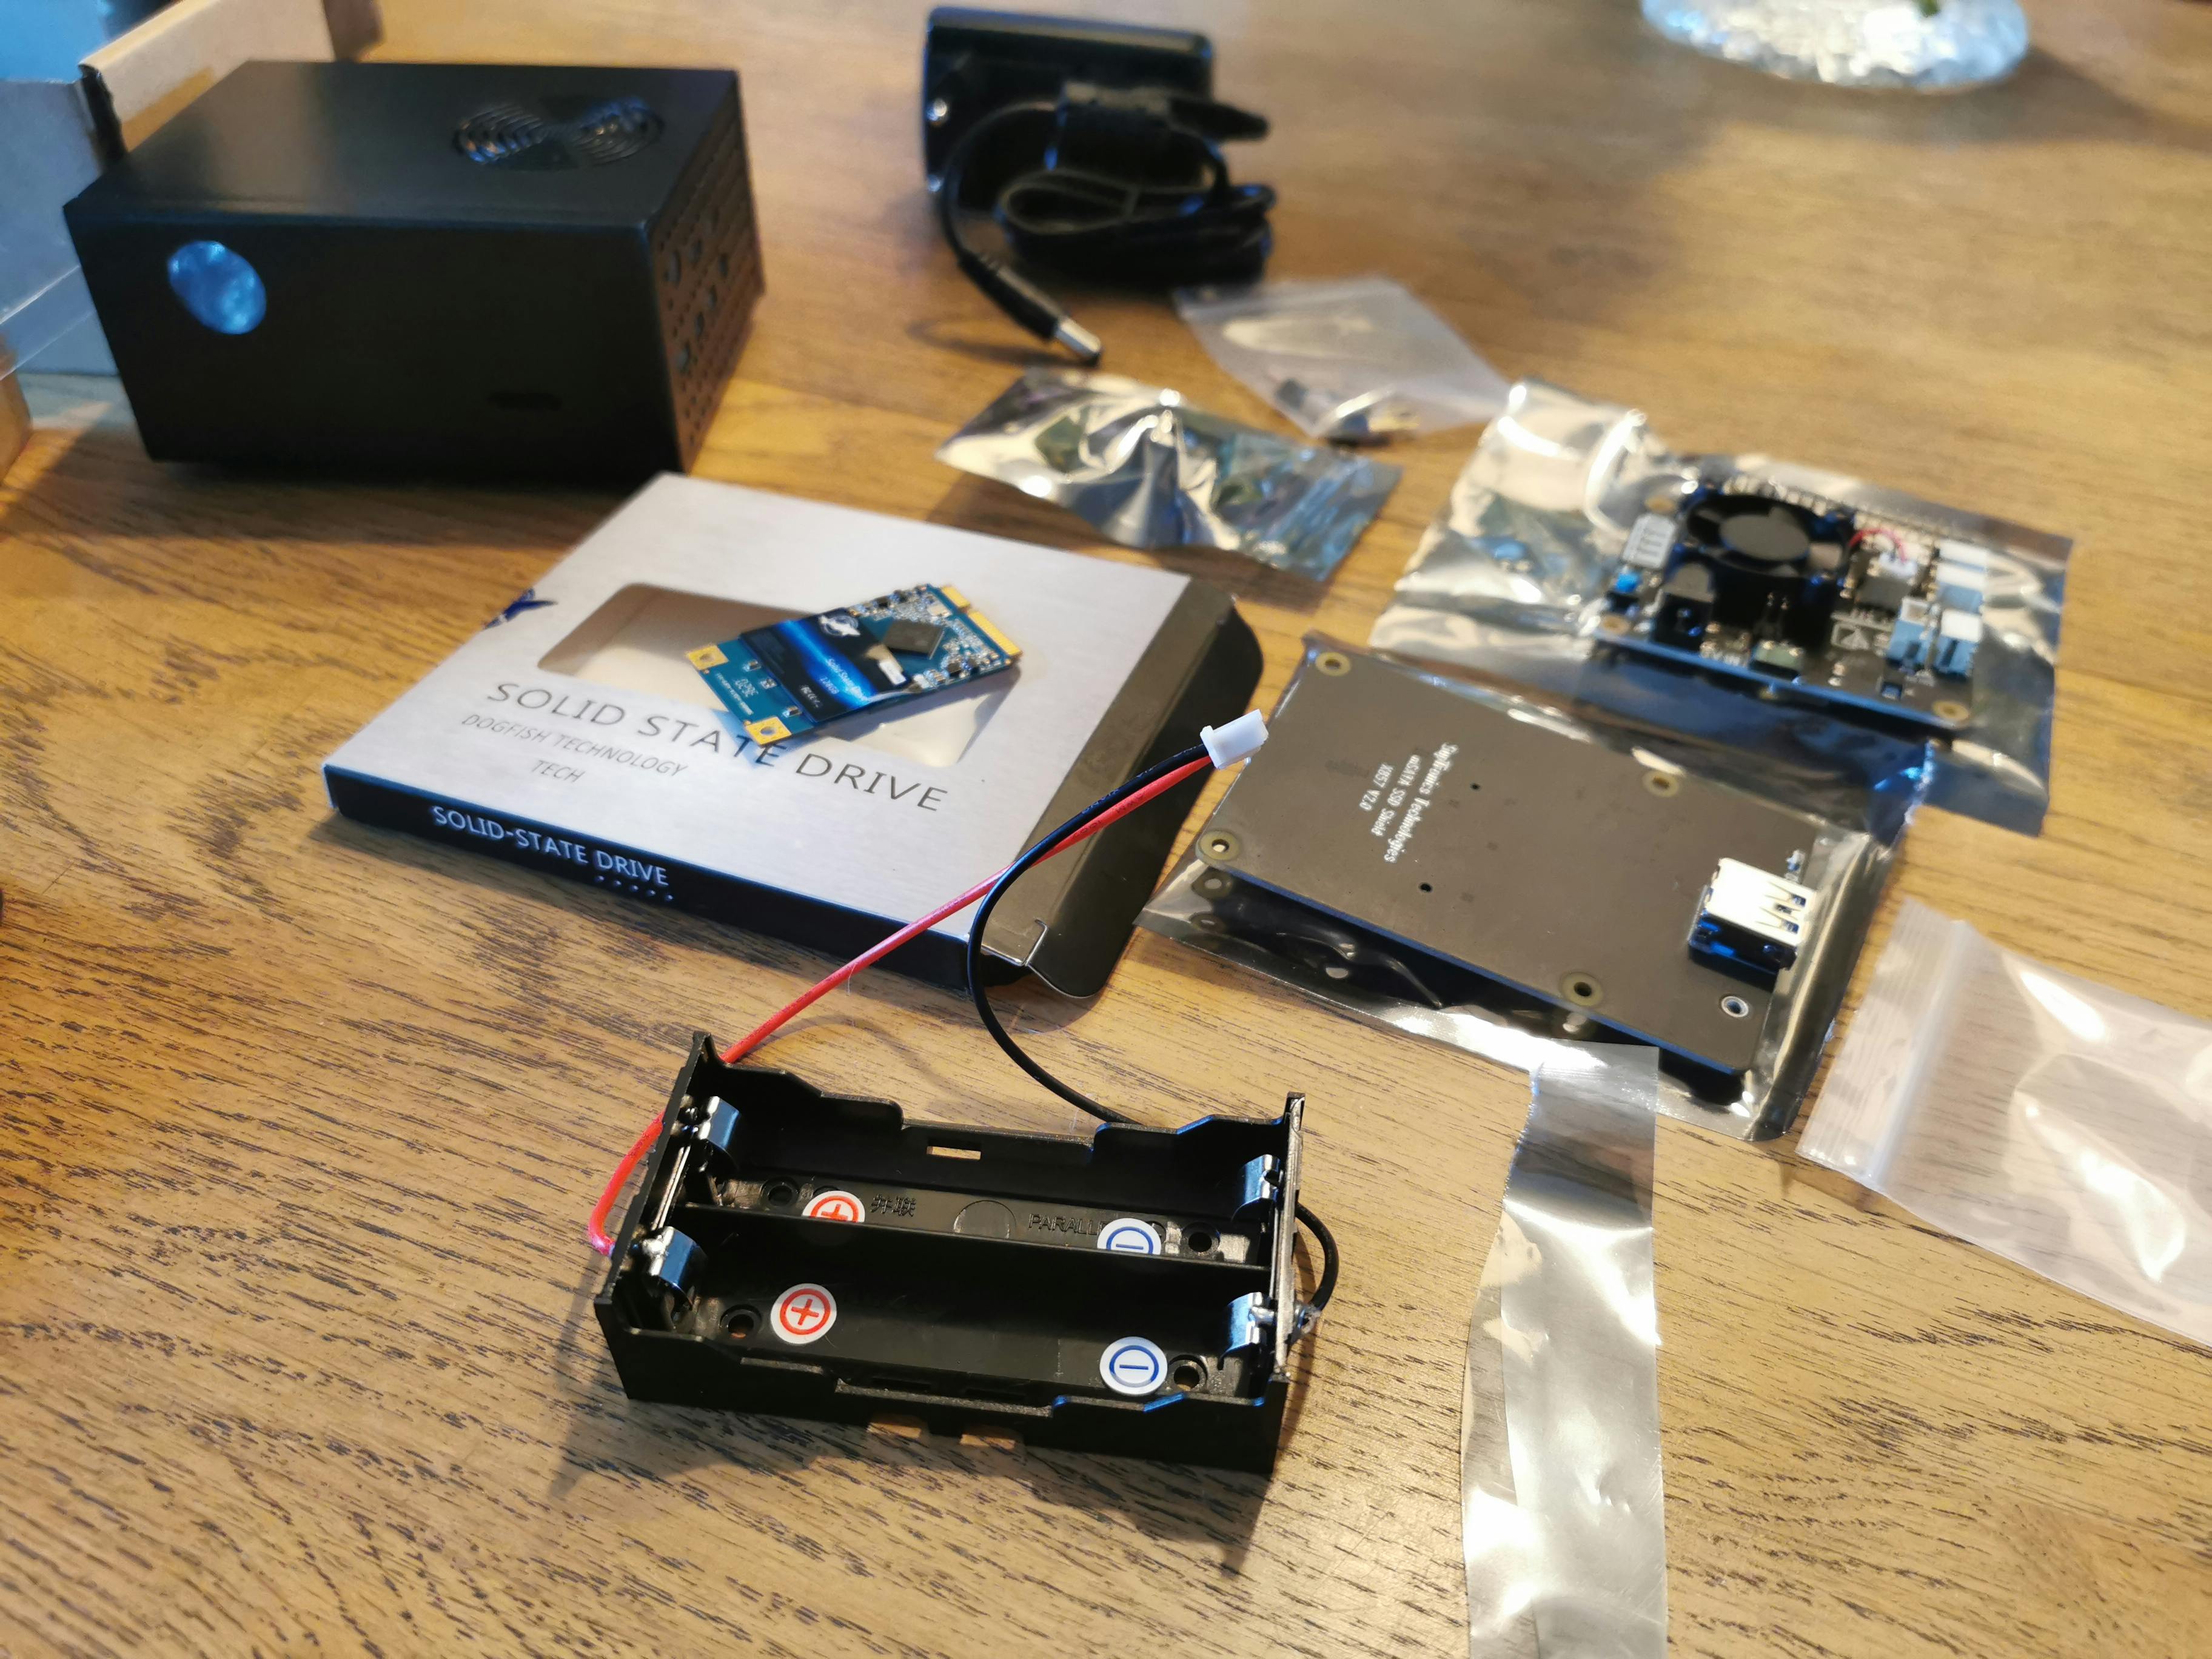
That's in the end quite impressive... but I think nevermind the kit, you will always have a similar result: a module for the power management/UPS (with or without a battery kit), a module for the external disk (SATA or mSATA) and the external case.
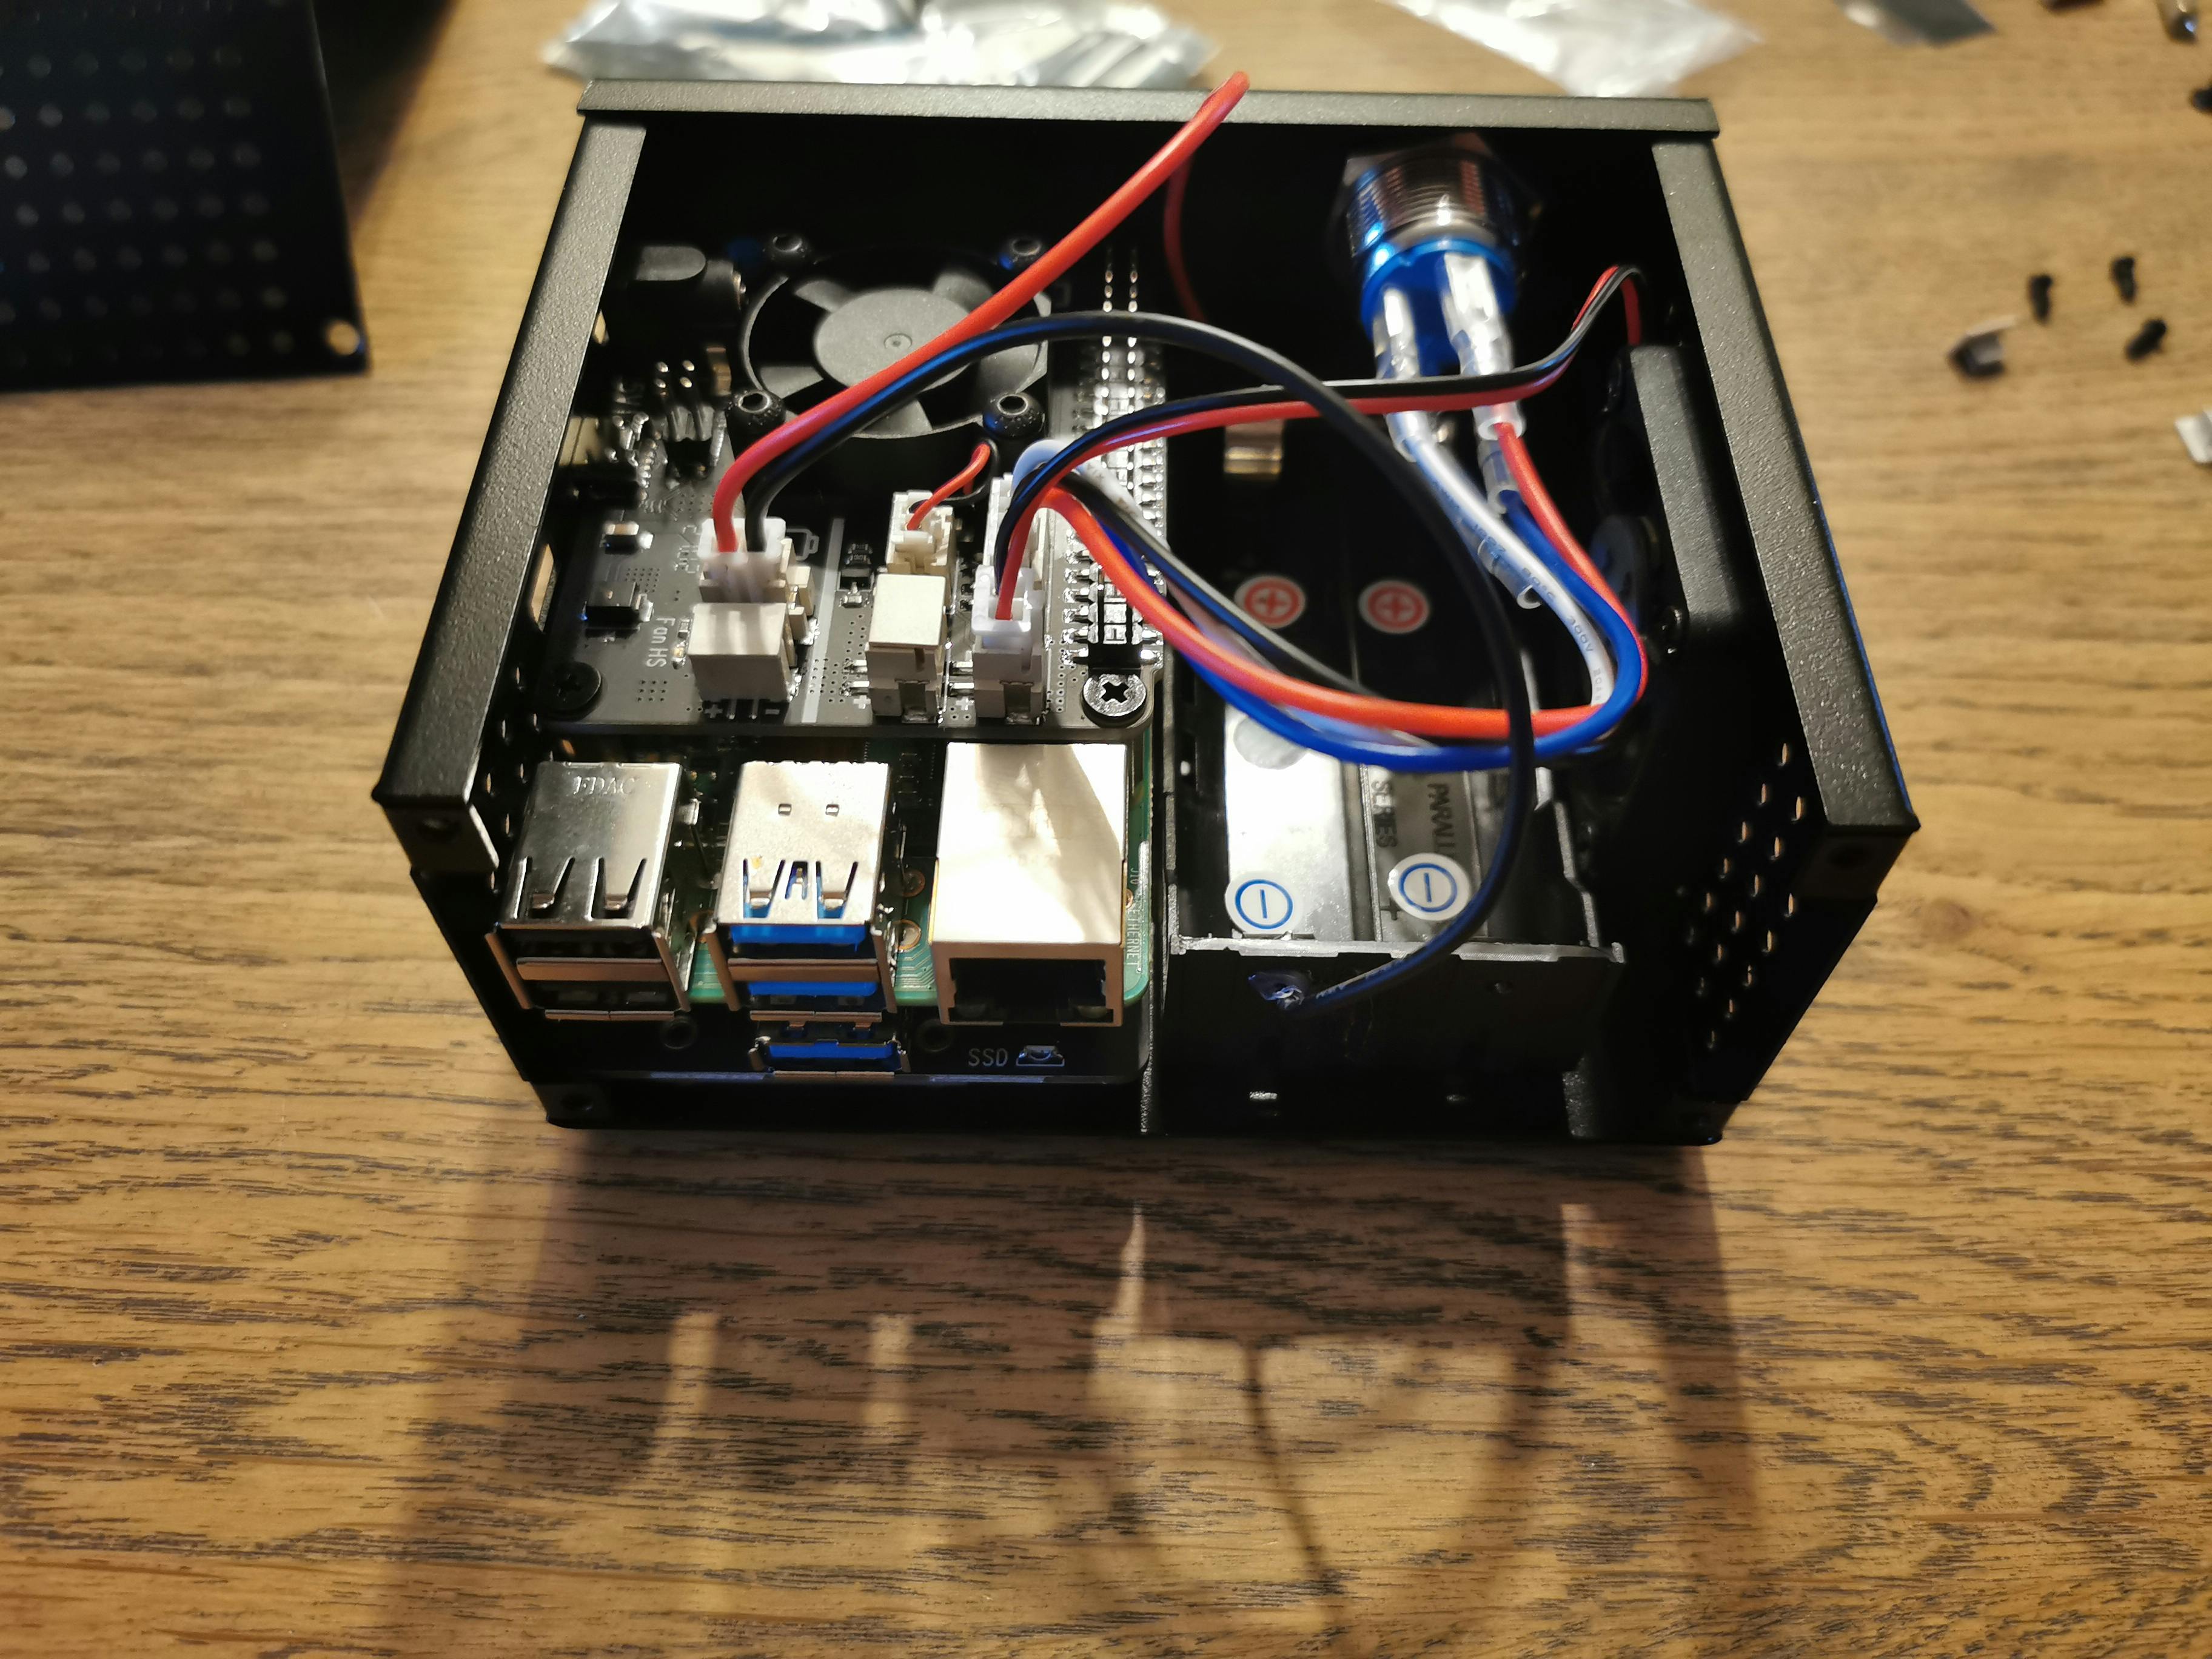
Assembling it, with the proper video is quite simple... even without it is not so complex, but it is important to know where cables must be linked to the power supply board... and that's not easy without the proper board documentation.
 92850364/loLx7SZtB.jpeg)

Installing HassIO
Then the OS installation part: how can I move my operating system from the SD to the SSD without losing all the configuration... adding back all the devices, which are now more than one hundred, it is definitely not a thing I want to do 😁 But Hass really rocks on this you will be ready to go in a really few minutes (less than 5 in my case).
- Start the RPi4 with a rasbian on an SD card.
- Upgrade the EEPROM to have the final bootloader version (you need it to select the proper boot order). Just check the official documentation for it or any blog post on the net.
- Install a fresh HassOS version on the SSD (usually /dev/sda in your RPi4). The Hass documentation show you how to install using Balena Etcher but this requires that you can connect the SSD to your laptop. In my case the mSATA via USB was not working... so I just made it on the CLI in Raspbian.
xz -dc hassos.img.xz | sudo dd of=/dev/sda - Remove the SD Card and reboot. If all the previous steps were good, you will have a new Hass installation
- Copy from the original SDCard the latest snapshot (it is maybe important to make a fresh one just before starting this procedure as Step0!) into the /backup folder.
- Browse the Hass web interface into the snapshot restore page and you should see the copied one. Select it and restore...
- On the SSD it is taking very few seconds for this operation... then the HassIO will reboot and you will get back your SmartHome Box!
Known problems...
Known right now, but I spent a little bit (too much) to figure out why. The ConBeeII Key linked to the RPi4 USB is not working due to interferences with the mSATA disk (or SATA seems the same problem) USB3 port where I linked the external Disk. The problem, as explained in the Intel Whitepaper, is related to the USB3 technical design.
You have some information on the deconz GitHub repo.
The solution is just to move the ConBee2 stick away from the RPi, with a long USB cable.
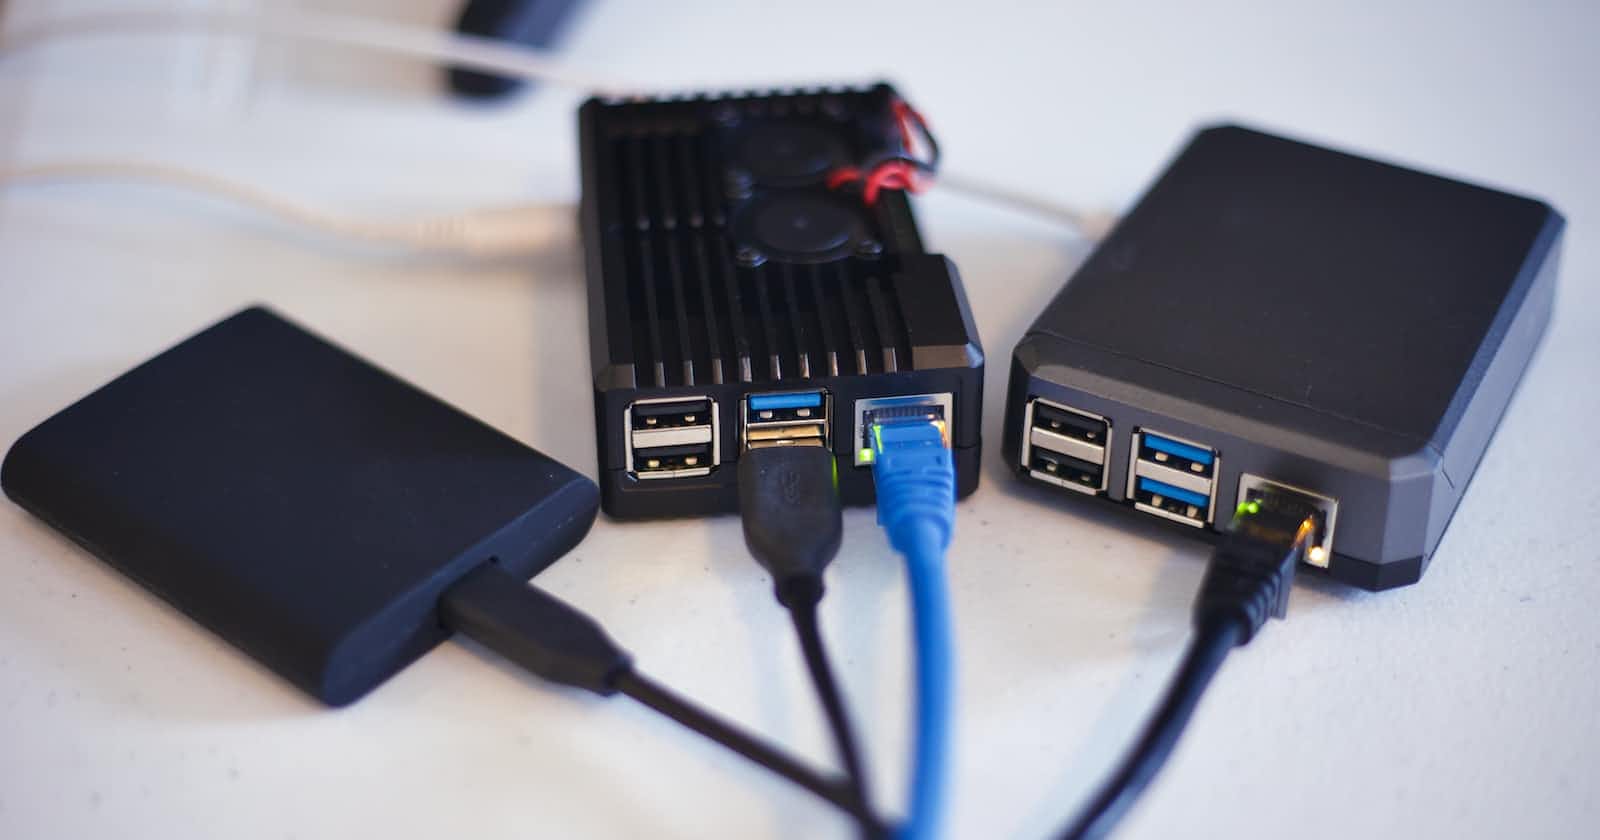
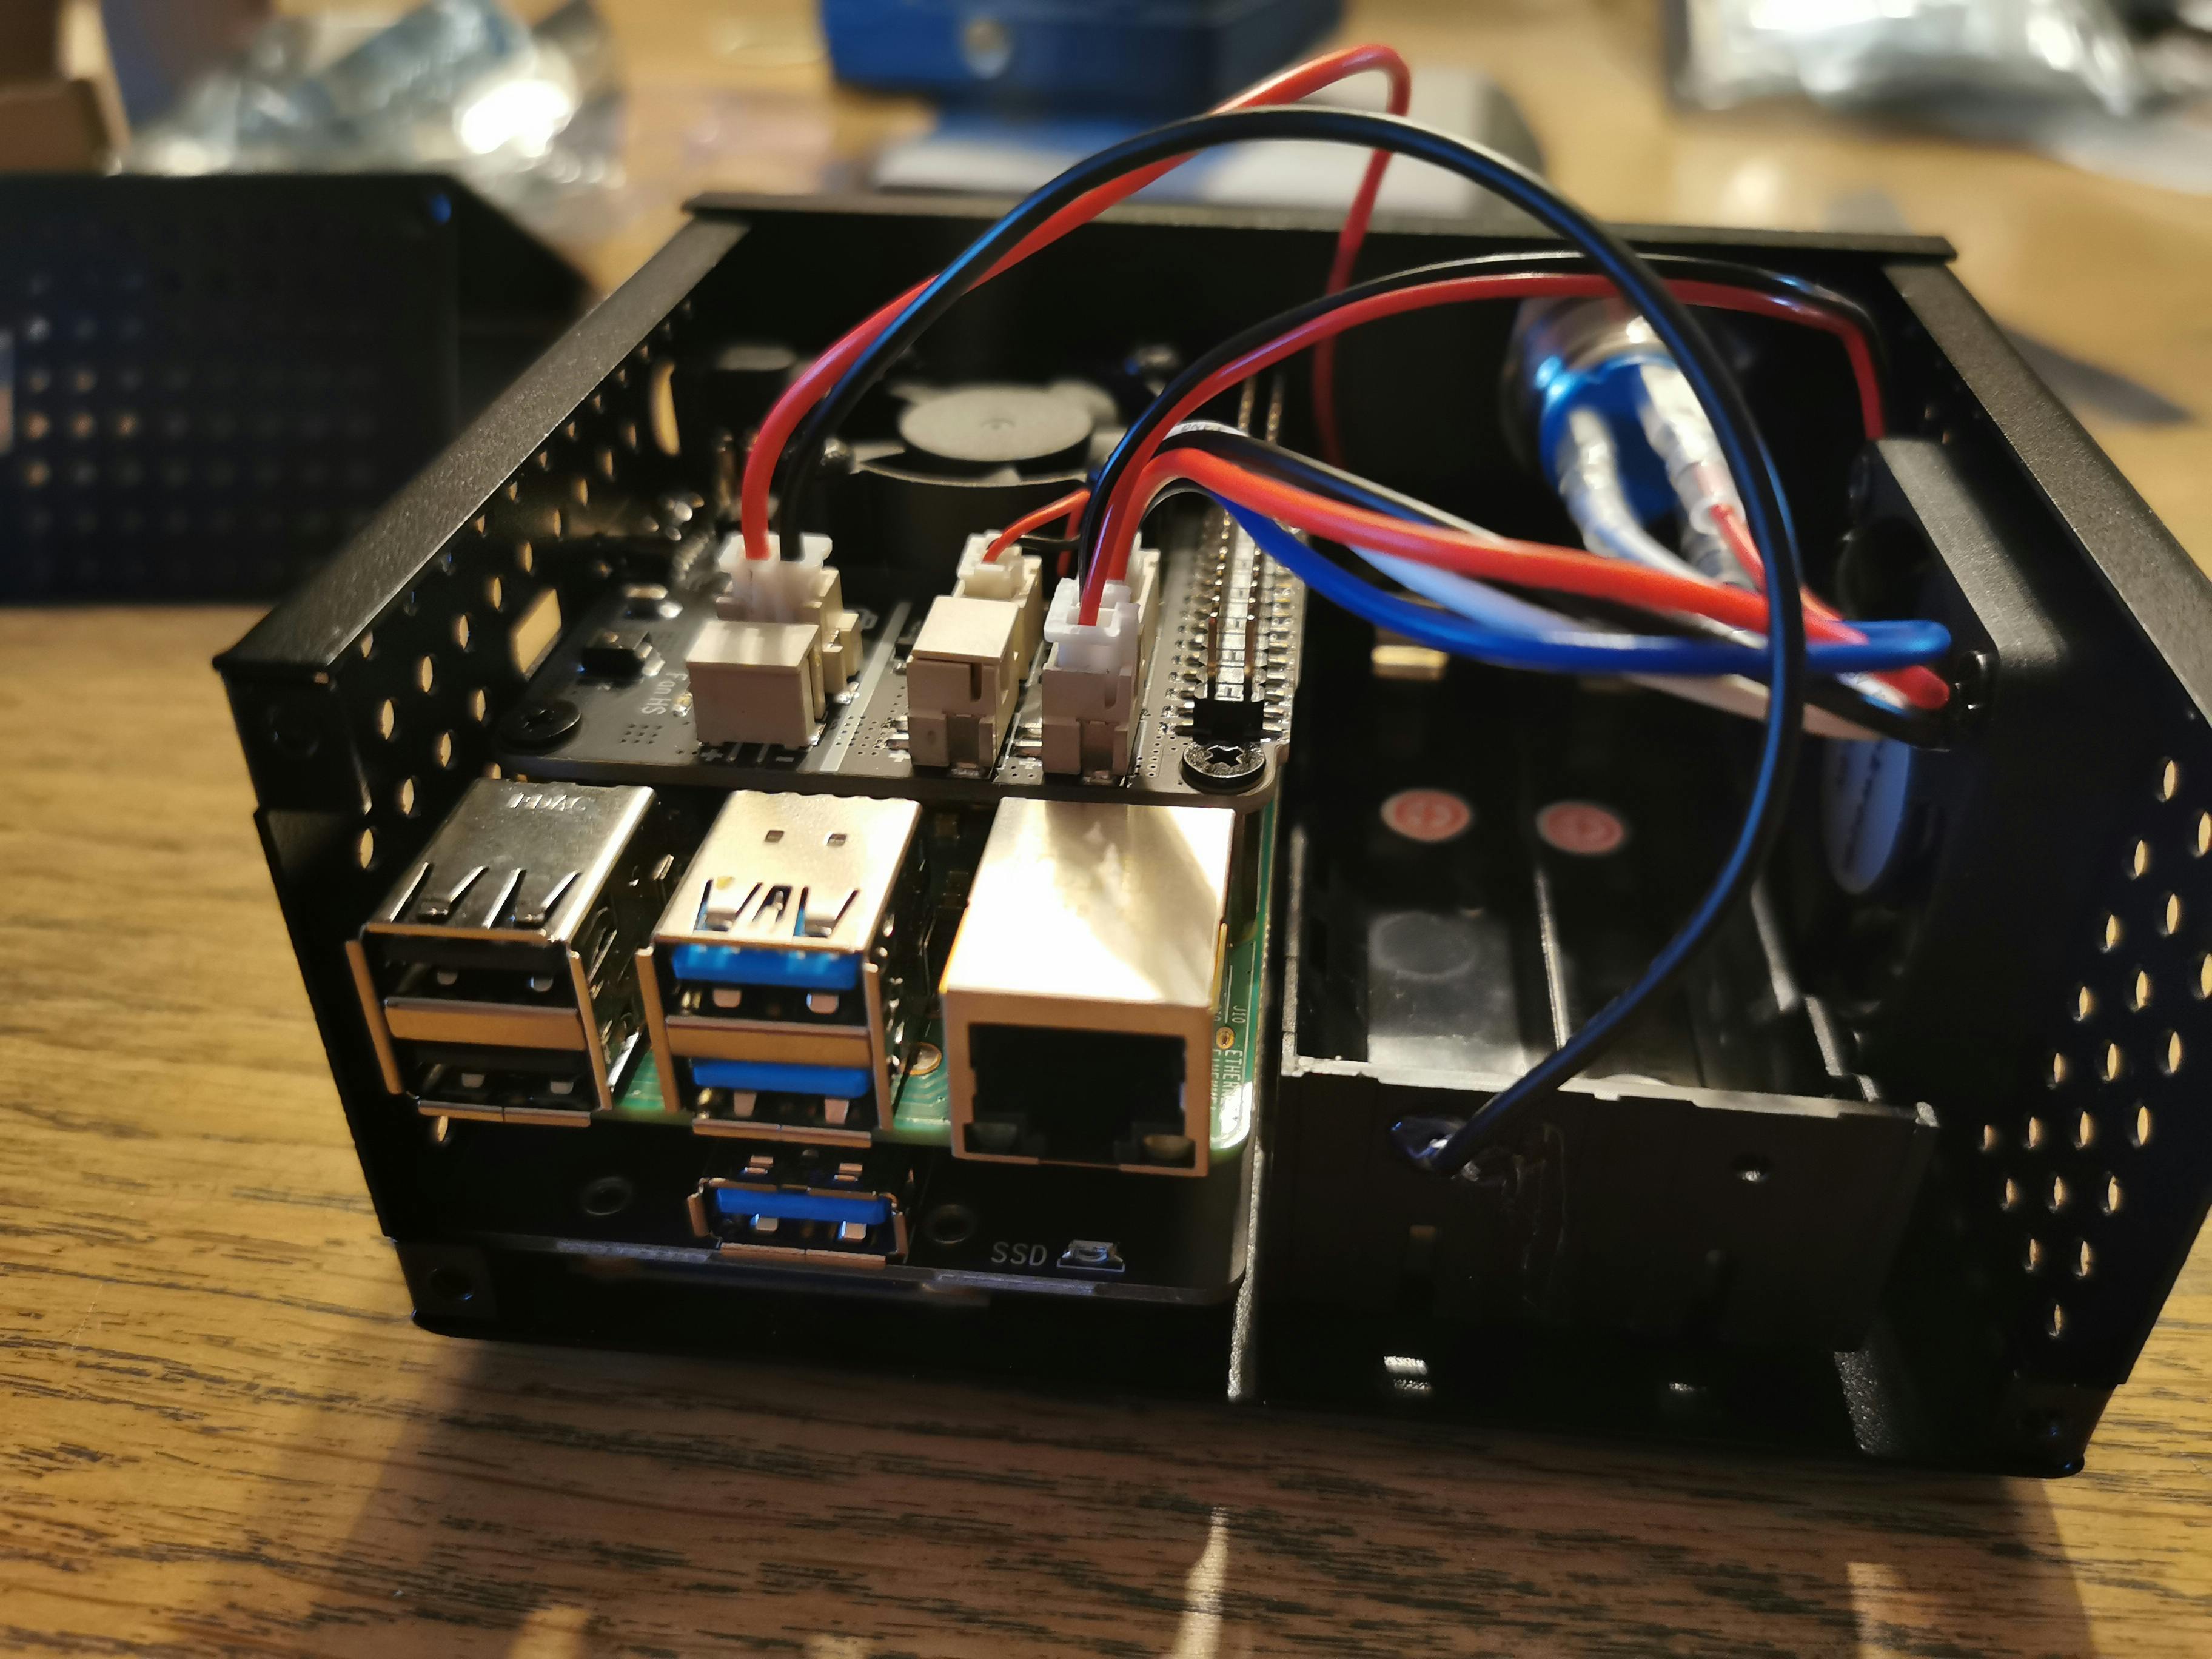
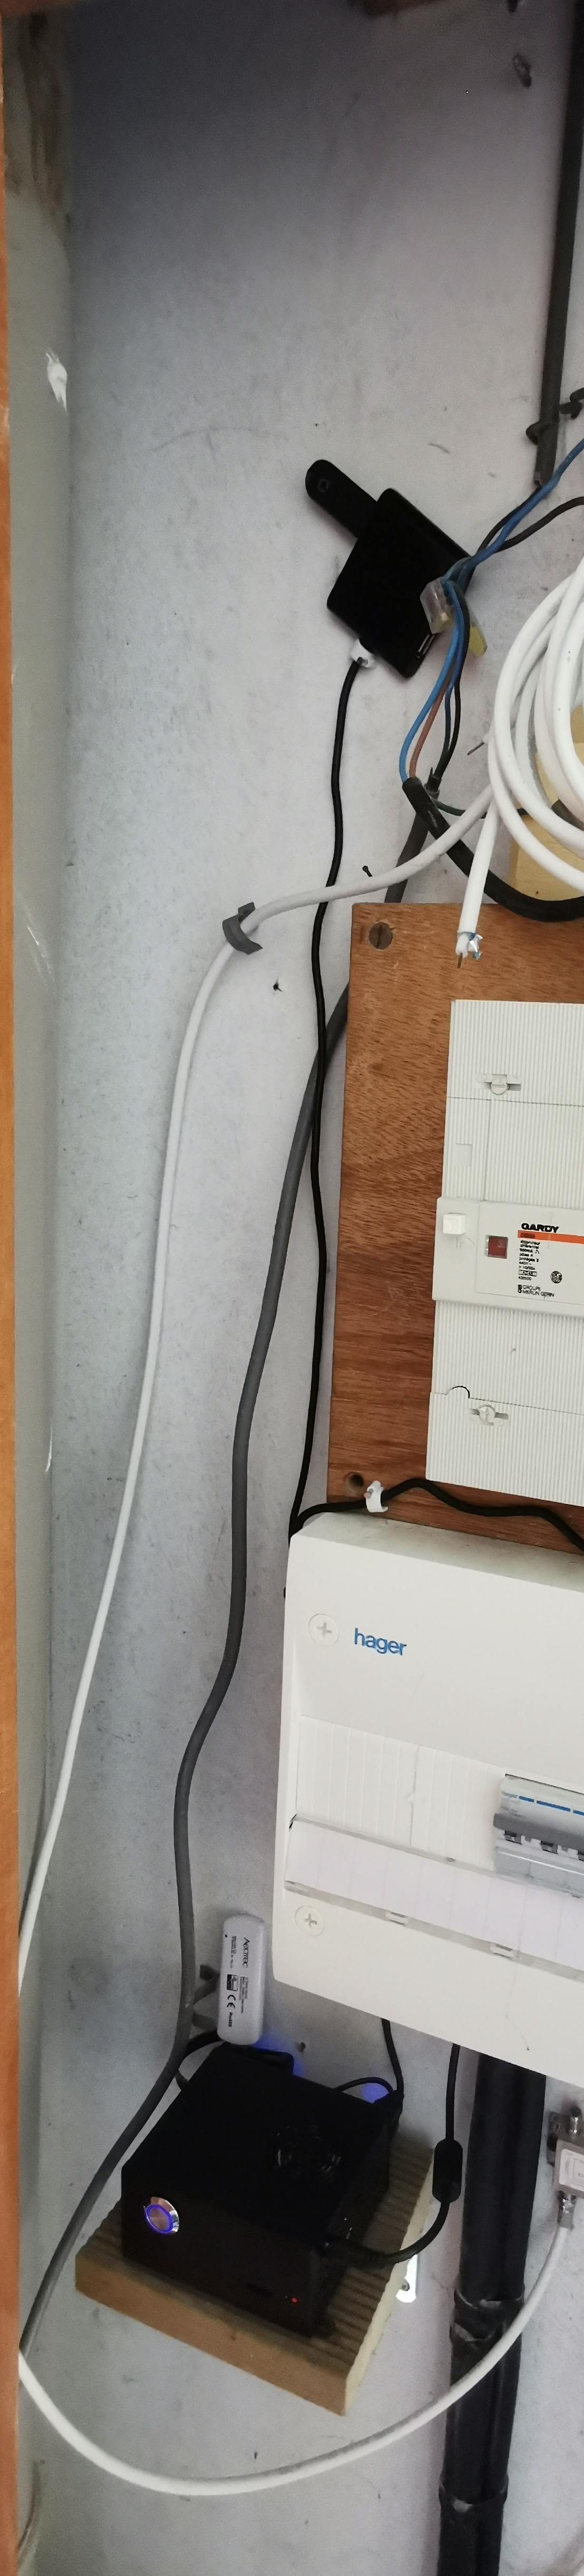
In the end, my installation looks the following... a bit crazy but it is working.
Hope this could help someone of you installing and configuring a secured smart home box. Feel free to contact me if you have any kind of questions or doubt about the procedure.