
When you move everything to “smart”, you might lose some information. What about if your room temperature is measured and sent to a “computer” to show it on a dashboard? How do you see the information without a phone or PC? It becomes interesting, even necessary, to have a physical display somewhere.
I spent time looking into using a tablet, but battery life and the high-tech look doesn’t fit everyone’s style. So after a long period, I found a good alternative using an e-ink screen with an ESP32 microcontroller.

Device Description#
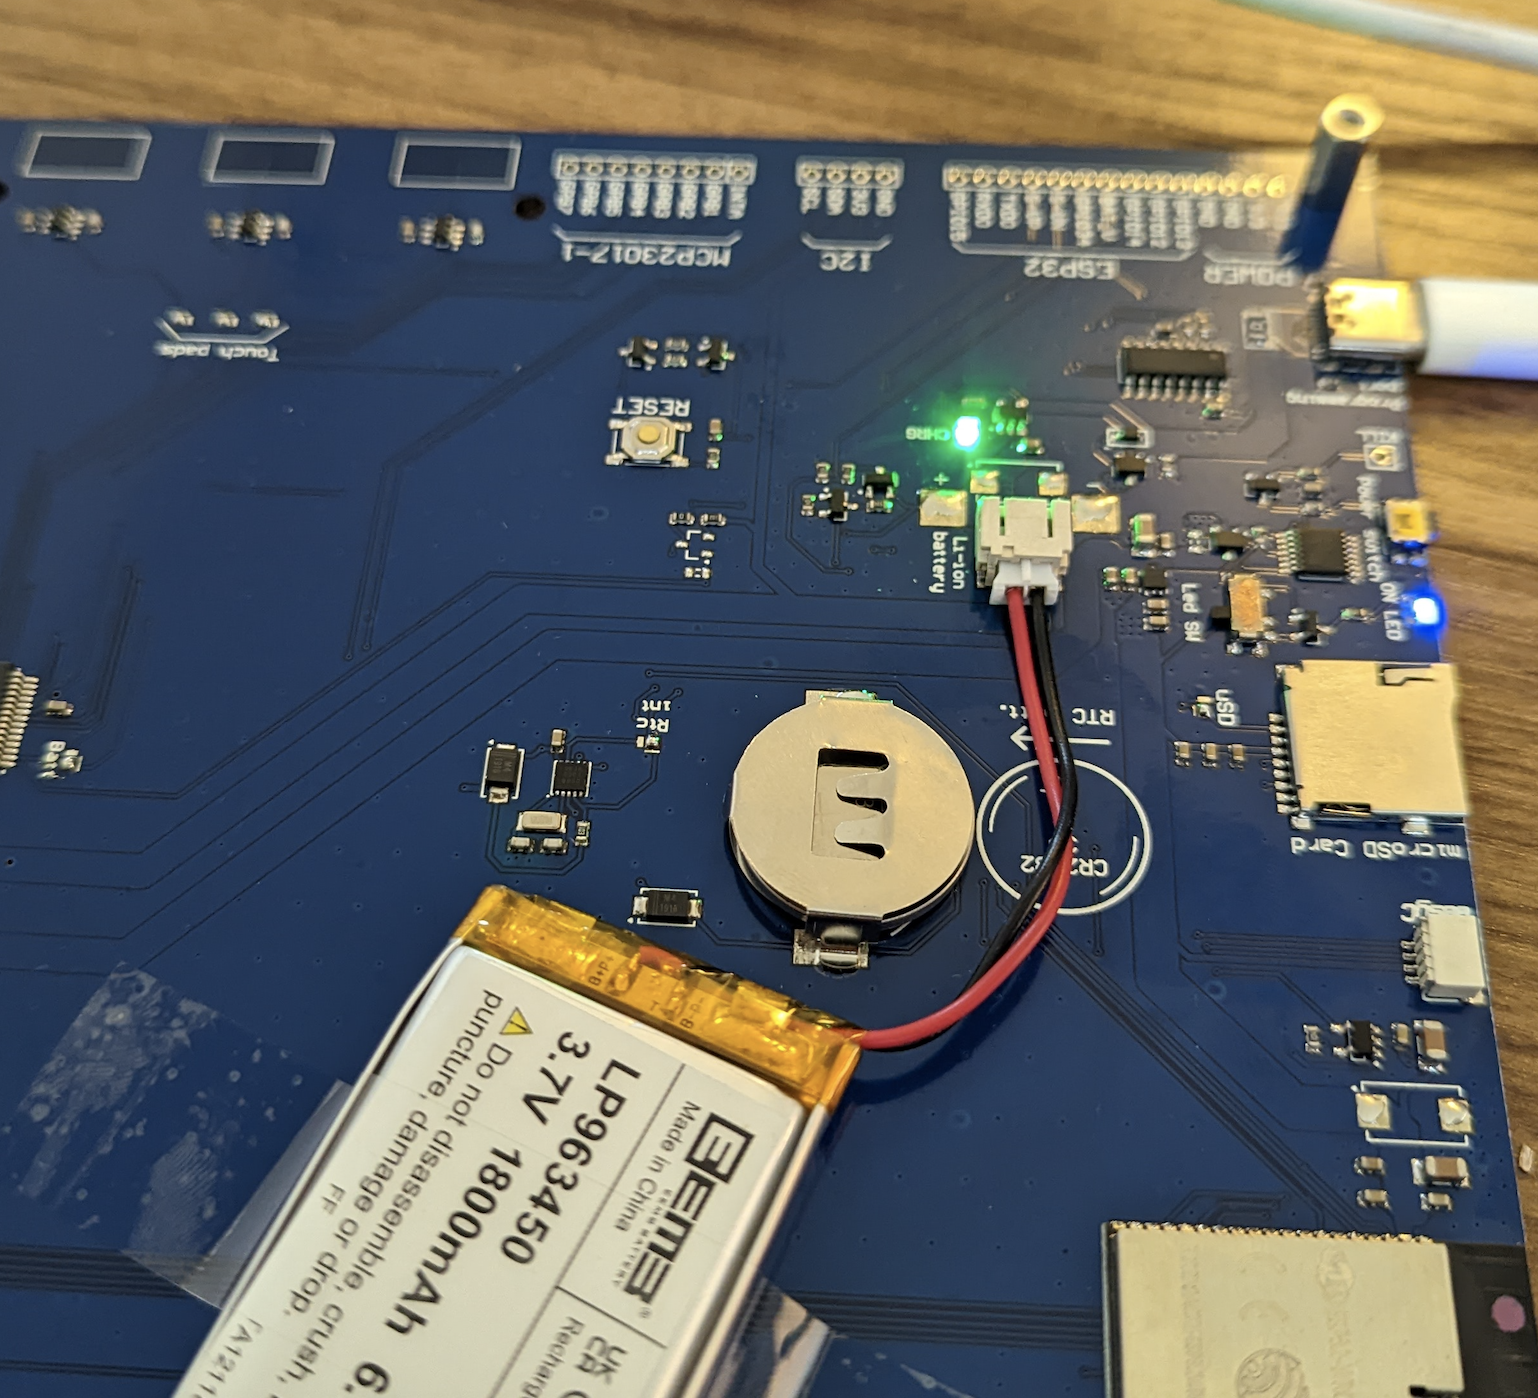
I bought a InkPlate 10" which offers a good-sized display in a complete package. The ESP32 microcontroller comes with built-in WiFi and is widely used in smart home devices today. This gives you access to many pre-built resources for any kind of usage.
The board I received has a missing GPIO controller, as noted on the sticker, due to the current chip shortage. 😱 Not critical for me since I didn’t plan to use it.

To complete the setup, you’ll want to buy a 3.7V battery pack. This lets you use the InkPlate without a permanent power connection, so you can place it almost anywhere in your house.


WARNING: be careful about battery polarity — there are many models with reversed polarity online.
Device Configuration#
To start using the InkPlate device you just need to flash firmware to the ESP32 and do whatever you want: you have a screen, you have a microcontroller… few lines of code and there you go. In my case, I just wanted to display a Home Assistant dashboard, updated periodically throughout the day. And looking on the NET you’ll surely find what you need without spending much time to start. For what I needed, the HomePlate repository is having all the information I needed to start with a ready to go firmware.
You have a very few steps to do:
- copy
config_exemple.htoconfig.h - add your WiFi, MQTT, and image URL. The board display needs the image pre-converted
- install the PlatformIO cli. On Mac, it’s easy with Homebrew
brew install platformio - Build the Homeplate sources with the device connected to your Mac via USB-C:
pio run


Create HA Board Image#
As described in the repository, there is a simple way to create a board image. Once again, this is something you can find online: hass-lovelace-kindle-screensaver.
There is a simple docker-compose.yaml file you have to configure with your HA information and start it up. I preferred to run it on a separate Raspberry Pi I already had and using for some other tools.
version: "3.8"

services:
  app:
    image: sibbl/hass-lovelace-kindle-screensaver:latest
    environment:
      - HA_BASE_URL=http://192.168.xx.xx:8123
      - HA_SCREENSHOT_URL=/lovelace-kiosk/0?kiosk
      - HA_ACCESS_TOKEN=xxxxx
      - CRON_JOB=0/5 * * * *
      - RENDERING_TIMEOUT=30000
      - RENDERING_DELAY=0
      - RENDERING_SCREEN_HEIGHT=825
      - RENDERING_SCREEN_WIDTH=1200
      - GRAYSCALE_DEPTH=8
      - OUTPUT_PATH=/output/cover.png
      - LANGUAGE=en
      - ROTATION=0
      - SCALING=1
    ports:
      - 5000:5000
    volumes:
      - ./output/:/output
Some important things here:
- the
CRON_JOBsetting controls how often screenshots are taken. RENDERING_SCREEN_HEIGHTandRENDERING_SCREEN_WIDTHshould match the InkPlate screen sizeROTATIONdepending how you want to display your board (horizontal or vertical)
Now that everything is configured you can enjoy your physical dashboard.