

On August 31st, Docker surprised the world with a news about the docker-desktop application: it won’t be free anymore. Even if it is a normal and legit decision, this can be tough for big companies as the final invoice can impact the IT budget.
The same day I discovered, thanks to AkihiroSuda Medium Post, that a possible alternative for macOS exists… but I needed to make some enhancements to what was described in the post since my specific use cases required more.
Installation#
Lima installation via Homebrew is really simple:
brew install limaOnce finished there are 2 main commands available on your PC: lima to access the virtual machine and execute “linux” commands; limactrl to control the machine, create, start, stop, …
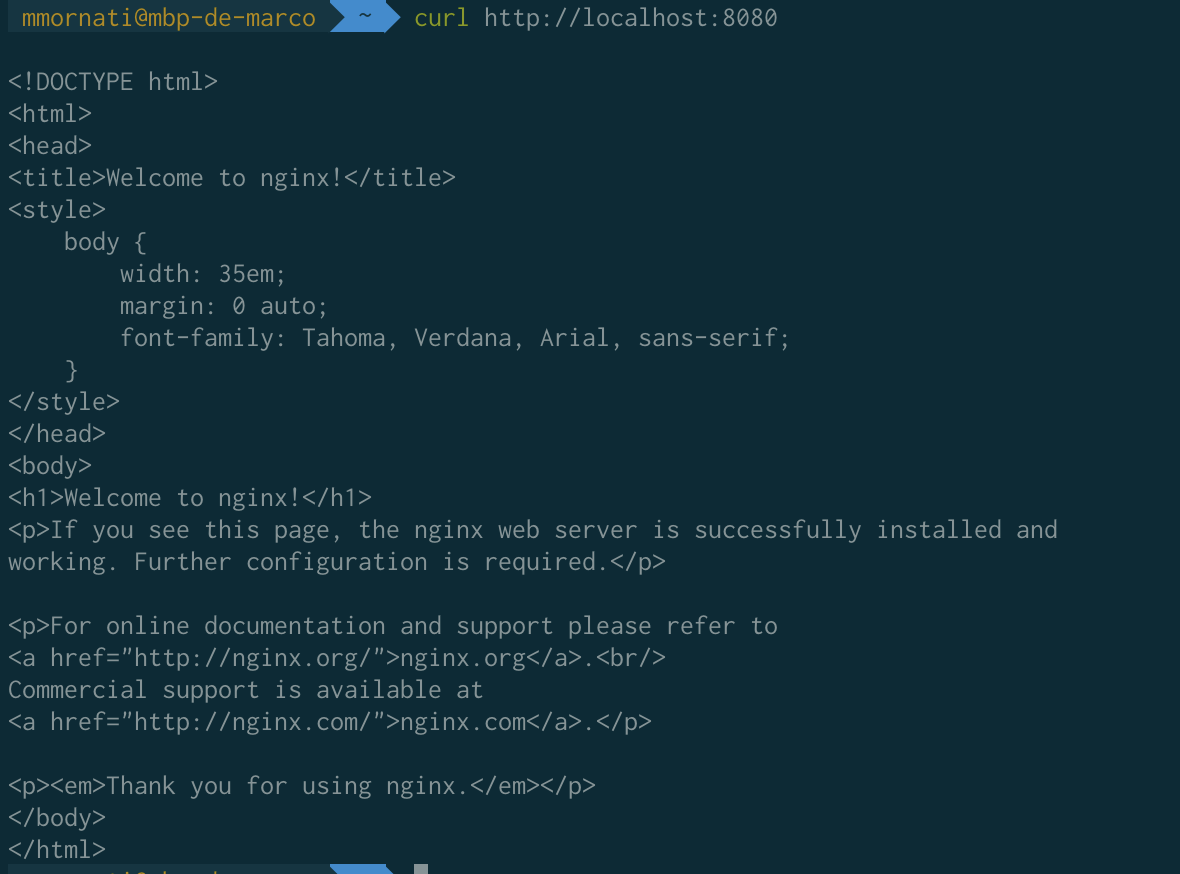
Lima automatically forwards all VM ports to the host and shares the volumes, everything is as easy as with Docker Desktop.
The main difference is that by default it is not using the docker-engine but the containerd directly instead. But for a standard / simple usage this is enough.
Run and Use containers#
The CLI to use to interact with the default containerd is nerdctl… but in the end the only real difference is the command name, because all the commands (even the compose one) are there.
To simplify the usage, just add an alias on your Mac to run the right command:
alias docker="lima nerdctl"Docker API#
Containerd is not exposing an API like the docker one, this means some applications can’t interact with or control Docker. For example, in Java unit test with Testcontainers this interaction is mandatory. But Lima is Linux and Docker is OSS… so you can configure it to use Docker instead of containerd. As AkihiroSuda suggested in its post comments, this is fairly simple:
curl -fsSL https://get.docker.com | lima
lima dockerd-rootless-setuptool.sh install
Then you need to access the docker.sock from your Mac… this can be done with the following command:
ssh -p 60022 -i ~/.lima/_config/user -o NoHostAuthenticationForLocalhost=yes -L ~/docker.sock:/run/user/$(id -u)/docker.sock 127.0.0.1Once done, you’ll have a docker.sock file in your home folder.
Just configure the application requiring the Docker API to use the socket within your home folder.
To test if everything is working well, from your Mac you can run the following command that is equivalent to running the docker images command.
curl --unix-socket ~/docker.sock http://localhosthttps://res.cloudinary.com/blog-mornati-net/image/upload/f_auto,q_auto/blog/json
It is working but is quite annoying in the end, anytime you need to interact with the Docker API you have to remember to run this command.
WARNING: before running the ssh command, check if the docker.sock file already exists on your Mac. If it was not deleted by a previous execution, ssh couldn’t create a new one with the same name. So nothing will work in this case.

Private Registry#
If you need to use a private registry, you need to be sure to have anything required to login installed inside the VM. In my case, I’m always using GCR/GAR Registry… so I needed to install the gcloud package inside the lima VM.
echo "deb [signed-by=/usr/share/keyrings/cloud.google.gpg] https://packages.cloud.google.com/apt cloud-sdk main" | sudo tee -a /etc/apt/sources.list.d/google-cloud-sdk.list
sudo apt-get install apt-transport-https ca-certificates gnupg
curl https://packages.cloud.google.com/apt/doc/apt-key.gpg | sudo apt-key --keyring /usr/share/keyrings/cloud.google.gpg add -
sudo apt-get update && sudo apt-get install -y google-cloud-sdk
Then just connect the docker to the desired gcloud registry:
export DOCKER_HOST=unix:///run/user/$(id -u)/docker.sock
gcloud auth configure-docker --quiet
docker login xxxx
NOTE: you surely need to login to gcloud to be able to use the private docker registry (gcloud auth login).
Package everything in a configuration file#
Instead of configuring everything manually every time, you can use the lima.yaml file to package everything you need. The important part is that all commands must be idempotent, as they run every time you restart the VM. Here an example of my script:
provision:
  # `system` is executed with the root privilege
  - mode: system
    script: |
      #!/bin/bash
      set -eux -o pipefail
      if ! apt list --installed | grep docker-ce; then
        curl -fsSL https://get.docker.com | sh -
        echo 'export DOCKER_HOST=unix:///run/user/$(id -u)/docker.sock' > /etc/profile.d/docker.sh
      else
        echo "Docker already installed"
      fi

      if ! apt list --installed | grep google-cloud-sdk; then
        echo "deb [signed-by=/usr/share/keyrings/cloud.google.gpg] https://packages.cloud.google.com/apt cloud-sdk main" | tee -a /etc/apt/sources.list.d/google-cloud-sdk.list
        apt-get install apt-transport-https ca-certificates gnupg
        curl https://packages.cloud.google.com/apt/doc/apt-key.gpg | apt-key --keyring /usr/share/keyrings/cloud.google.gpg add -
        apt-get update && apt-get install -y google-cloud-sdk
      else
        echo "Google Cloud already installed"
      fi


  # `user` is executed without the root privilege
  - mode: user
    script: |
      #!/bin/bash
      set -eux -o pipefail
      dockerd-rootless-setuptool.sh install
      gcloud auth configure-docker --quiet
WARNING: The first creation takes a long time (several minutes depending on your Mac’s performance). When the Lima creation seems finished, it isn’t.
You can follow all the creation logs with a tail -f ~/.lima/default/serial.log and everything is finished when you can read
[  OK  ] Finished Execute cloud user/final scripts.
[  OK  ] Reached target Cloud-init target.
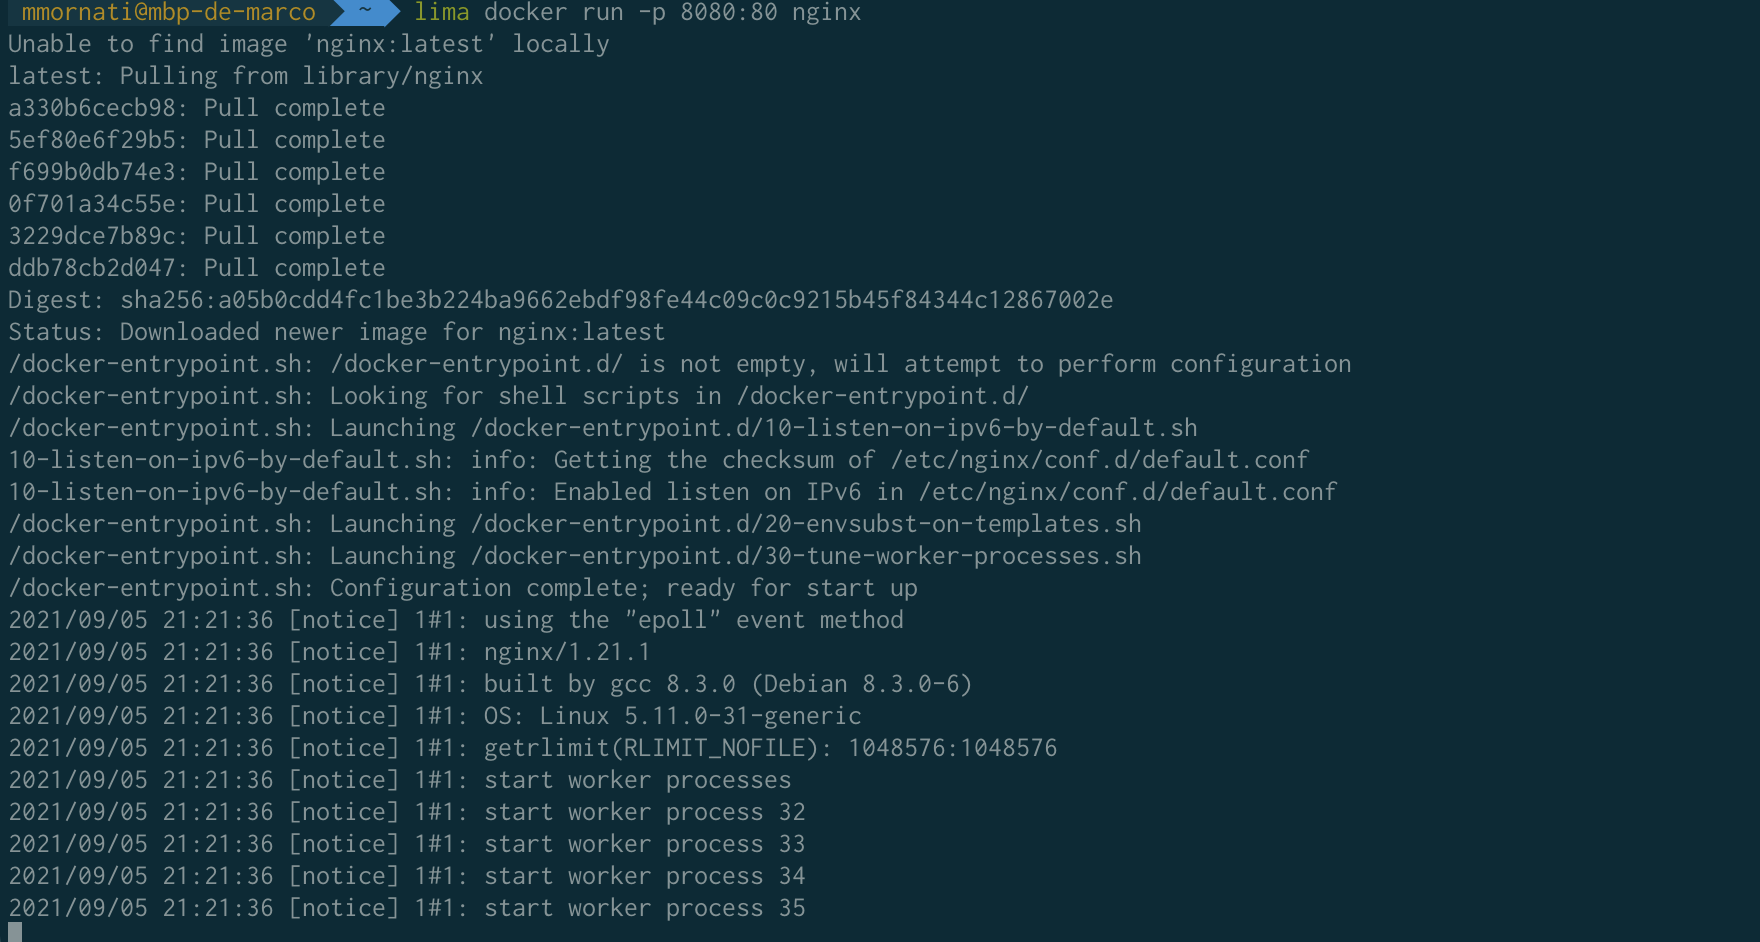
Now you can execute all the docker commands using:
lima docker xxxxSo you can just add the correct alias on your Mac machine:
alias docker="lima docker"WARNING: be careful: containerd and nerdctl are also installed on the machine, but they don’t share anything with the Docker engine. This means if you run a container in containerd, the downloaded image can’t be seen or used by the Docker engine: the first time you start the same machine in docker, it must download it.
Create the full Lima VM#
If you want to provision a Lima VM like the one I described, you can use my sample file.
%[https://gist.github.com/mmornati/988cca81c5260707a453beb2d3578bd0]
Executing it in the following way:
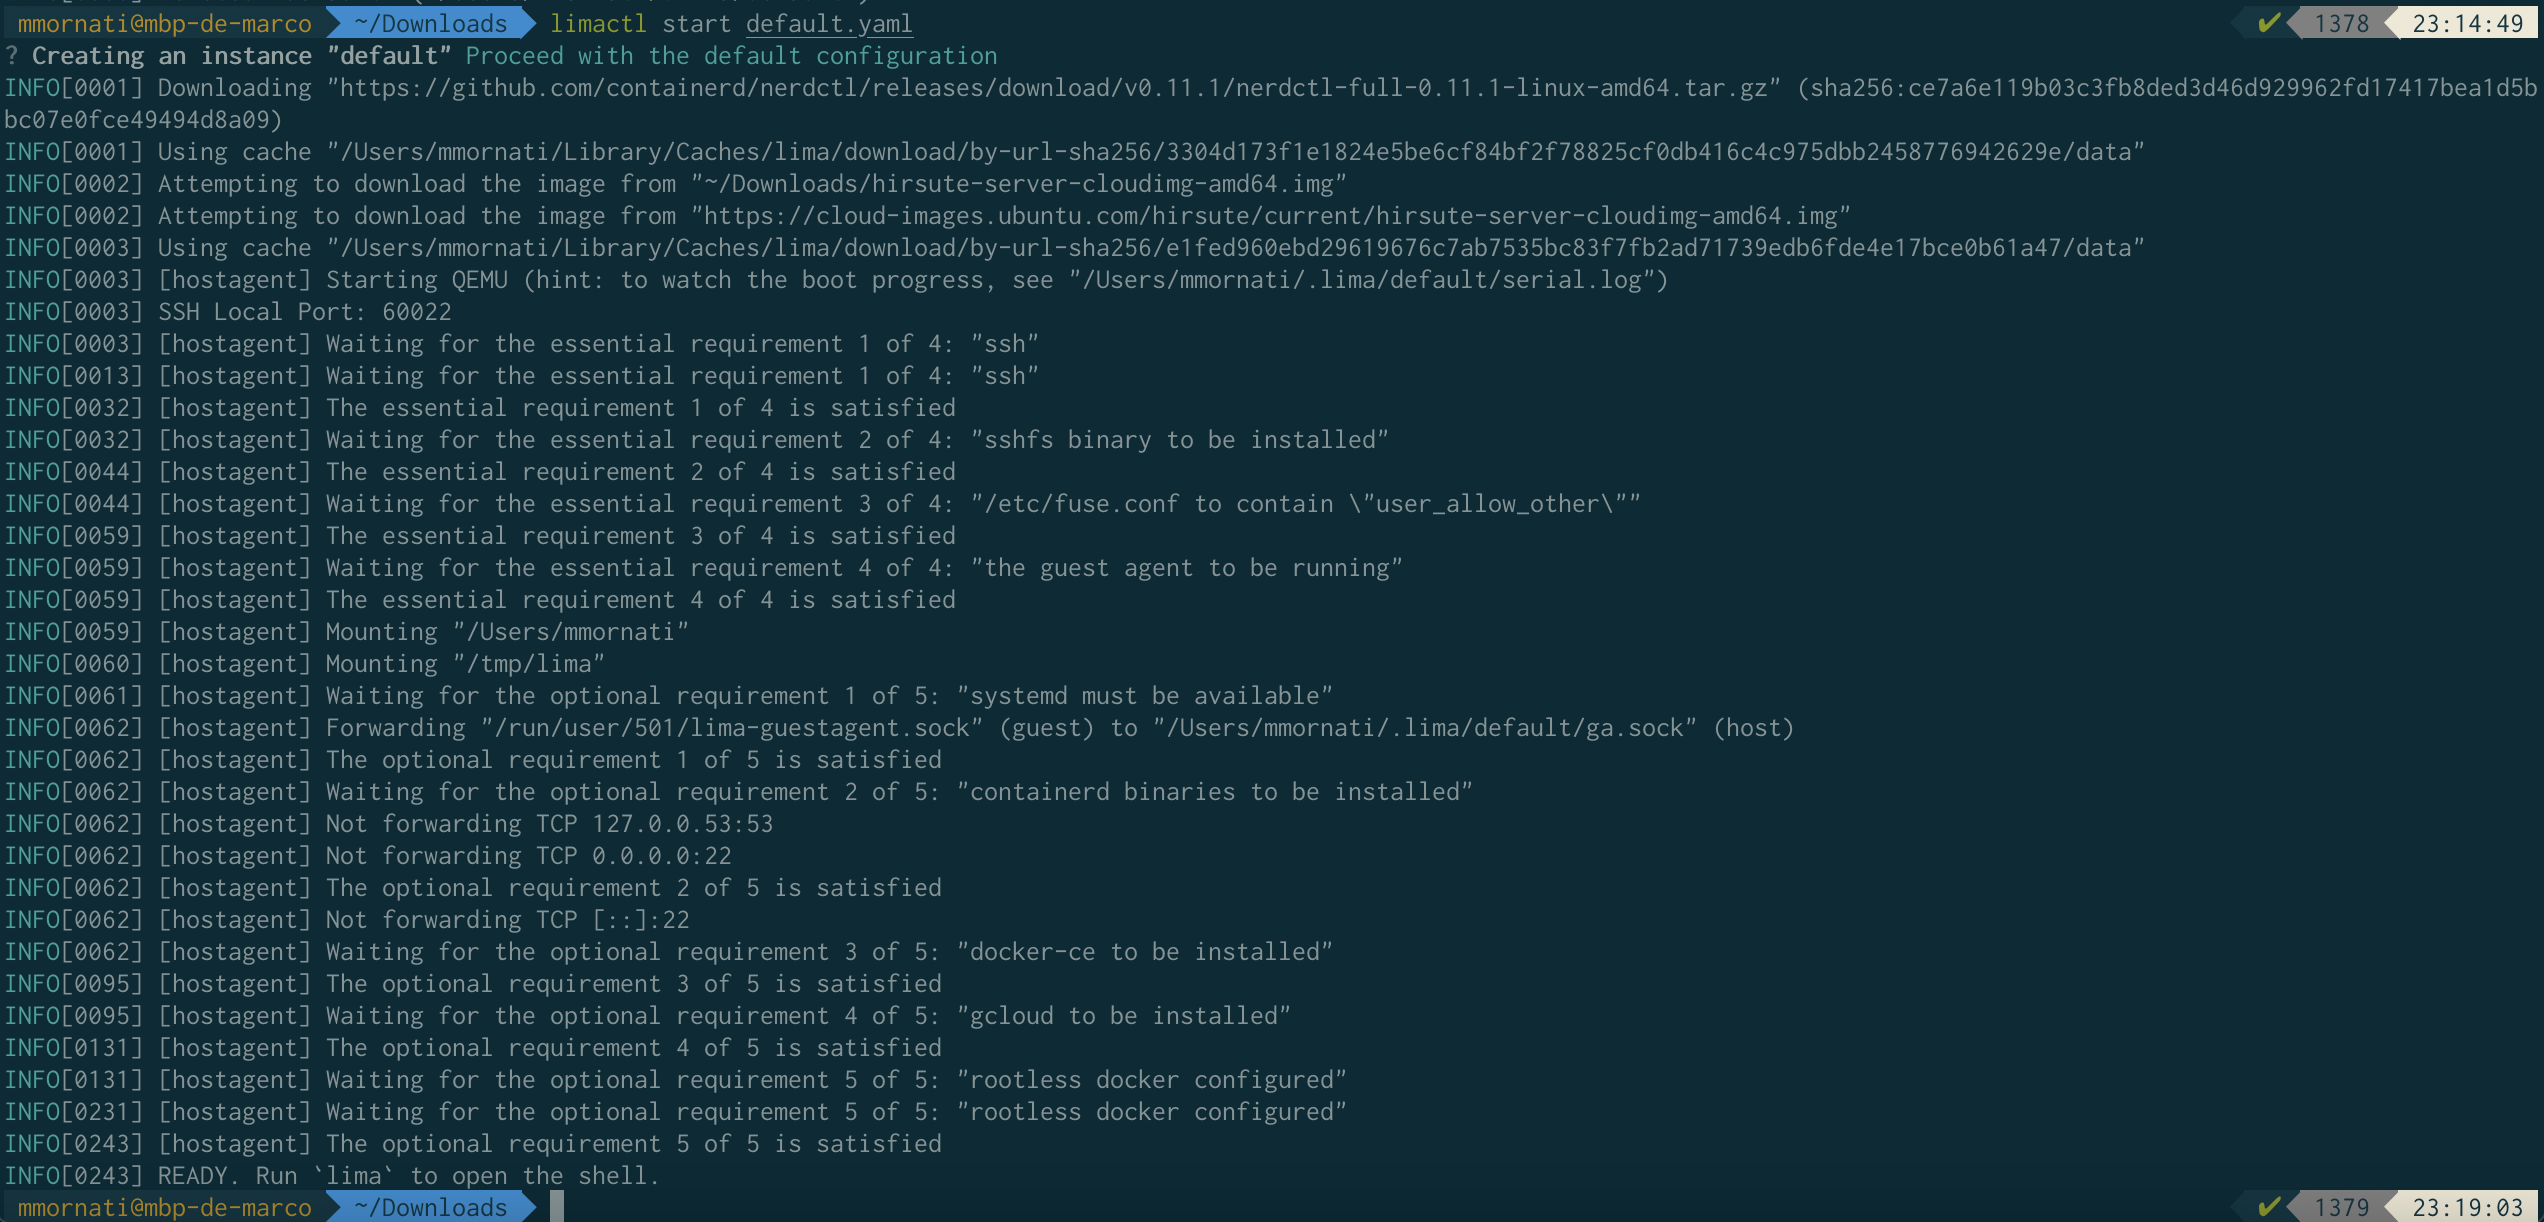
limactl start default.yamlEDIT: 07/09/2021 The script has been updated with some interesting enhancements:
probesare added to wait until the full installation completion. It is done with 3 added steps: docker-ce, gcloud and user configuration
- The rootless Docker configuration now exposes the Docker API over TCP too
- mode: user
    script: |
      #!/bin/bash
      set -eux -o pipefail
      dockerd-rootless-setuptool.sh install
      if ! grep DOCKERD_ROOTLESS_ROOTLESSKIT_FLAGS ~/.config/systemd/user/docker.service; then
        /usr/bin/sed -i '/Environment=.*/a Environment=DOCKERD_ROOTLESS_ROOTLESSKIT_FLAGS="-p 0.0.0.0:2375:2375/tcp"' ~/.config/systemd/user/docker.service
        /usr/bin/sed -i 's/ExecStart=.*/ExecStart=\/usr\/bin\/dockerd-rootless.sh -H tcp:\/\/0.0.0.0:2375/g' ~/.config/systemd/user/docker.service
      else
       echo "Docker service already configured"
      fi
      /usr/bin/systemctl --user daemon-reload
      /usr/bin/systemctl --user restart docker.service
gcloud auth configure-docker --quiet- The API port (2375) is automatically exposed to the host server. You can now use any docker depend app just executing
export DOCKER_HOST=tcp://localhost:2375
portForwards:
  - guestPort: 2375
    hostIP: "127.0.0.1"
There’s no need to create an SSH port forward with docker.sock anymore (but it will still be available, as the rootless Docker exposes the API via both methods).
EDIT: 08/09/2021
The latest version of the gist has been tested against several projects with Testcontainers, with successful results.
On the host machine, just configure the testcontainers/ryuk to use the correct socket.
export TESTCONTAINERS_DOCKER_SOCKET_OVERRIDE=/run/user/502/docker.sockThe UID (502) may differ in your VM. To get the correct one you can run
lima echo "/run/user/$(id -u)/docker.sock"It won’t ever change if you won’t create your VM again and you can add in your host .zshrc or .bashrc or whatever rc file.
This should provide a better docker and provision experience.